Tuesday, May 29, 2012

Mine to Love


Ellis Hay Throckmorton - 4.20.2012

You might wanna close your eyes


It’ll take some time adjusting’


Welcome to your life


You’re everything you’ll someday be


There’s a weight off my shoulder


There’s laughter in the air


You are the answer to every midnight prayer


You’re mine to love


We have all been waitin’ on you


You’re mine to love


Come into these open arms


It took some time to wait it out


But I see it now, you’re worth all the dreaming of


You’re mine to love


You’re mine to love


You might wanna take your time


Takin’ all this technicolor, yeah


We’re on your side


Let us be the one you need


There’s a life on my shoulder


Laughter in the air


You are the answer to all those midnight prayers


You’re mine to love


We have all been waitin’ on you


You’re mine to love


Come into these open arms


It took some time to wait it out


But I see it now, you’re worth all the dreaming


You’re mine to love


Every time that my heart was broken


Every time that I’ve lost my wings


I forget when I look into your face


You’re mine to love


We have all been waitin’ on you


You’re mine to love


come into these open arms


‘Cause I’m right here


It took some time to wait it out


But I see it now, you’re worth the dreaming of


You’re mine to love


You’re mine to love


You’re mine to love


So you might wanna close your eyes


{Mine to Love - Dave Barnes}

Friday, May 25, 2012

InstaFriday


Friday, April 20, 2012

InstaFriday


Wednesday, November 9, 2011

Pregnancy Superpowers

Superpowers I've acquired since being pregnant...

...I can smell things from a mile away.  Can't find where you left your plate from lunch? Or that dirty sock?  I'm your girl.


...I have the uncanny ability to be sick one day, feel great the next, be sick again the next, and oh - guess what - healthy as can be the next.  It's a fun trick.


...I can forget things like it's my job.  In an instant.  Try that one friends.  I can be mid sentence and 100% forget the rest of it.  Oh and your name? There's a good chance it will take me a minute to think of it.  Got any juicy secrets - go ahead and tell me.  I'll forget them by tomorrow so you won't have to worry about me sharing. 


...I have ridiculously great hair.  And yes I will brag on myself.  My whole life I have spent with lifeless locks and lately, I can actually do things with it.  Up, down, and yes, you better believe it --- even curl.  It's super. 


...I can cry when absolutely ever needed (or not needed).  It's a really cool trick I tell ya.   I wasn't really that moved by last week's Grey's Anatomy, but you better believe I fooled the room.  I could win an award.  


...I have a super elastic belly.  Not sure what good this does, but it's pretty amazing.  It's fairly large in the morning, but give me a couple glasses of water and a full meal and I could knock you down with this thing.  


...Oh, and one last thing.  I am able to speak my mind...without thinking first.  That's right, completely unfiltered.  Try that one my friends.  Baby T is sure to be a passionate little guy/gal. 


Tuesday, October 25, 2011

Baby T: The First Few Weeks

Tuesday, August 2, 2011

I choose him...

Bryan and I have an on-going joke that whenever one of us does something stupid/silly/or even sometimes mean, we look at each other and say "you chose me."  It lightens the mood and puts our trivial things into perspective.  For example:

When he was cleaning out our entire house yesterday, I got an earful from him about all the "junk" and "clutter" and even "trash" he found around the house...as to which I smile and respond, "just remember...you chose me."

Or when I'm in the midst of telling an oh so important story about something that happened to me during my day and I realize he's not paying an ounce of attention...I look at him and say "seriously?"  Cue Bryan: "just remember...you chose me..."

oh and let's not forget all the times that he frustrates the night owl in me by falling asleep on the couch at 9 (every night) or when he comes home to catch me secretly watching Glee when I've been known to say it's the stupidest show ever or when he freaks out about my ability to absolutely destroy a clean bedroom in a matter of seconds or the fact that he somehow goes through a box of 30 granola bars in the matter of a week...those are all prime times to throw out the "you choose me" motto.

But really.  I do.  I choose him.  And no one else.  I always have and I always will.  He's my favorite and I wouldn't have it any other way.

Happy Anniversary B, Here's to 3 years of choosing each other :)


{anniversary dinner at Olive Garden}

Tuesday, July 19, 2011

expanding my horizons...

Today I added another another bit to my repertoire (I know, I know... I need another project like I need a hole in my head...)

When Bryan called and told me he wouldn't be home for another 3 hours, I decided I had time to waste on Pinterest.  Looking through some boards, I came across this beauty and was absolutely inspired...


While I have no idea who the Avett Brothers are, I completely love the birds and the idea of being set free.  It took my mind to one of my current favorite songs.  The lyrics read, "Captivated, but no longer bound by chain.  Left at an empty grave, the sinner and the sacred restored."

I got to thinking and designing (of course) and recreated this work of art in photoshop with my new wording.  But how was I to print it, and then where would I find a frame big enough that wouldn't cost me an arm and a leg?  Because if its going on my wall it needs to be large.  8x10 picture frames on large walls absolutely drive me nutso...please please add more frames or upgrade your sizes.  Please?

Anyways, I was dreaming of something about 3 feet by 5 feet.  Live a little people.  Close your jaws.  :)

Turns out we had a huge piece of particle board in the basement.  Not quite as big as I was hoping, but 30"x44" will do.  So, what did I do?  That's right.  Yup, I'm now a painter.  Apparently.

And I'm in love...absolutely in love with the outcome.  
Imagine Bryan's reaction when he came home to this:


"Umm where did that come from?"  "Oh I just whipped it up."
He thinks I'm certifiably crazy.


Sunday, July 17, 2011

Jersey Knit Bracelets

Do you ever have the itch to create?  Oh, I do.  There's just nothing like creating something.  Call me crazy, but I woke up this morning craving to create.  Running to the computer to run through my blogs, I finally found this adorable DIY while perusing through Pinterest.  (oh, and please oh please tell me you know what Pinterest is...if not, go there now...my blog can wait!)

You can see the full tutorial here from "V and Co.":


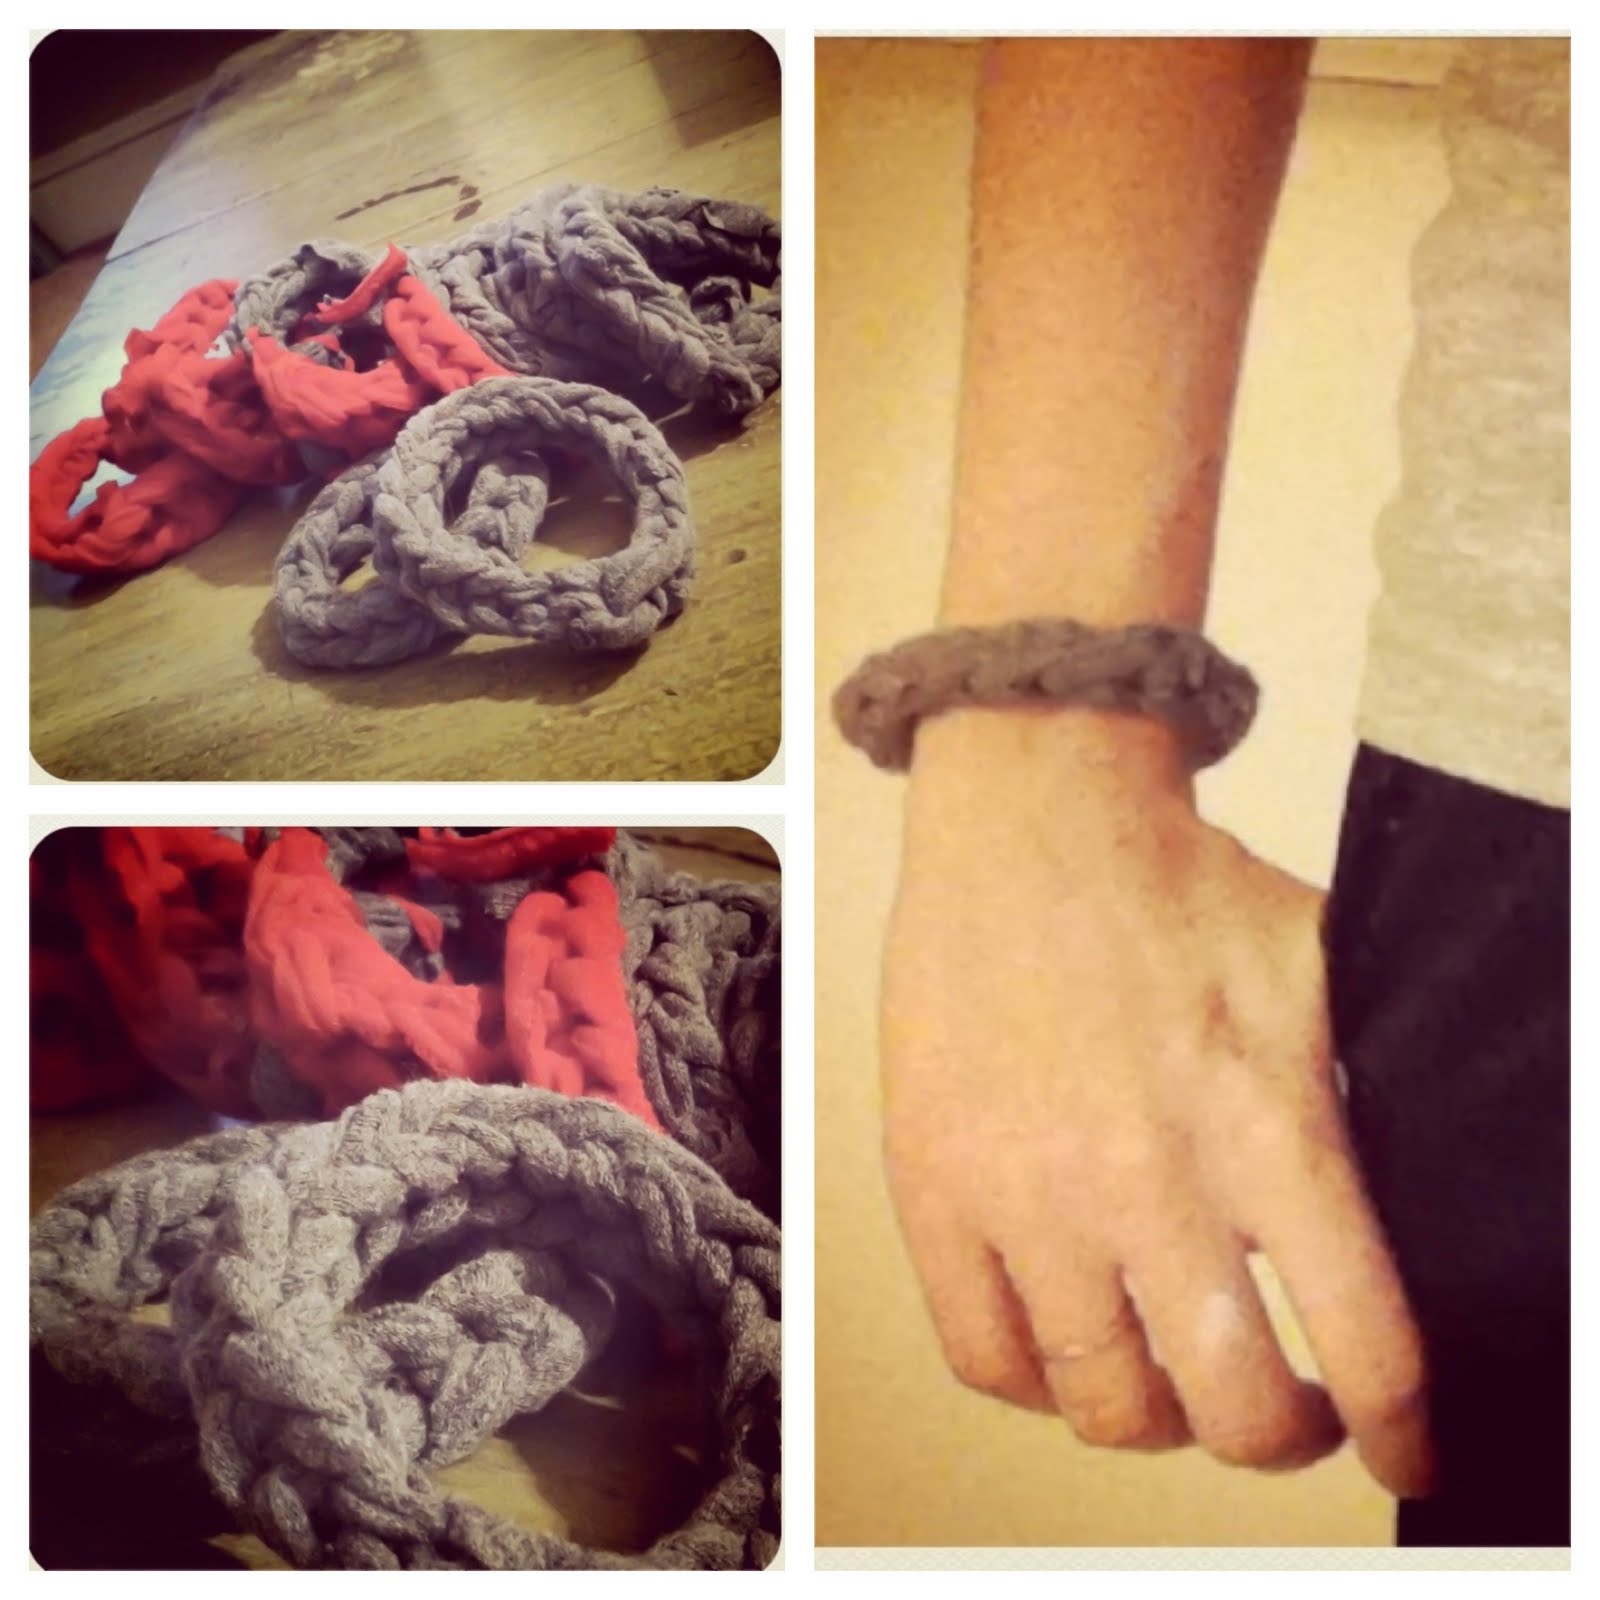
I didn't have the fun colors that she did, but I scoured my t-shirt drawers and found the perfect too-old-to-wear stretchy t-shirts to use.  I did the 2-strand one and found that it was easier to use my middle and ring finger rather than my pinky.  Maybe it's just me, but my pinky was so much shorter than my ring finger that it just wasn't workin out!  And I found that about 18-20 links is a perfect size.  It will look too small, but they will stretch way out when you put them on.  

And here's what I came up with (don't mind my attempt to take a trendy pic like V):


I know, I know...compared to V's mine look like athletic sweat bands, but I promise they are cute in person!  I got many compliments at church today :)

And then, I spent the rest of my day creating over at AllThingsNew


Thursday, June 16, 2011

Project: Forgotten and Found...Episode 1


Well here goes nothing :)

This first project is a table I refinished with my friend Kris, 
over at All Things New

The forgotten piece that we started with was this old kitchen table.  I have a coffee table at home that I absolutely adore that was cut down from an old kitchen table.  It's a beaut.  I've been dying to try this redo myself, but hadn't found the perfect piece.  Enter exhibit A:


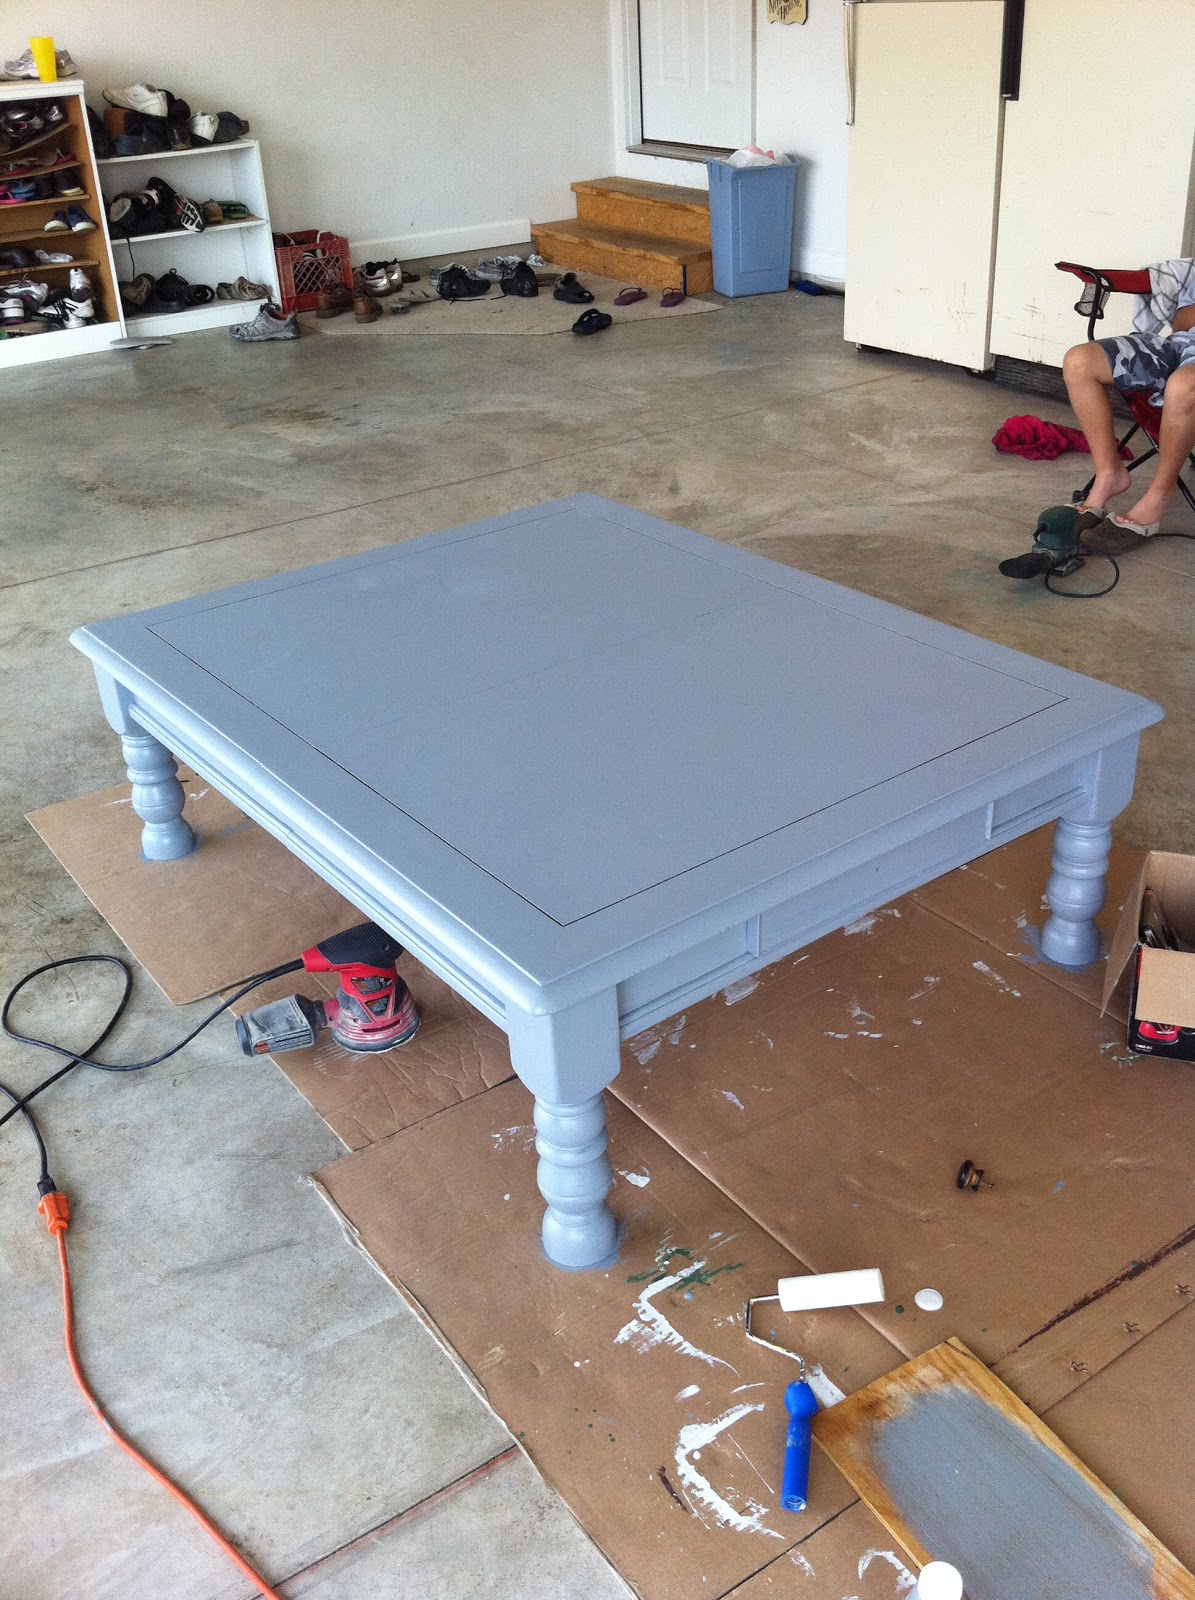
This isn't the best "before" picture, but we were so excited that it wasn't till we were elbow deep in the sanding process that we remembered to stop and snap a pic.  So, here's the low down:

1) Sand, sand, sand.  Then repair.  This table had a thick coat of black paint and what seemed to be a polyurethane finish.  We sanded this sucker like nobody's business.  The reason you want to sand is to make sure that you get a gritty, porous surface for your paint to really adhere to.  Though we wanted the distressed look, this table had a few big nicks and holes that needed filled before we primed.  Do this after you sand because sometimes you will discover more in the sanding process.

2) We then cut off the legs and removed the hardware.  We got lucky and ended up picking a good height, but I would suggest measuring another coffee table that you like the height of before you go hacking off the legs.  Just a thought. :)

3) Prime.  I love Bullseye 321 primer and sealer.  It covers anything.  Most of the time with one coat.  Covers stains, and sticks well even to the junk that won't sand down well.  My only advice here is to really be careful with drips.  It's easy to get a little sloppy with primer because it's the first coat and you think you won't see it.  However, it's actually the most important layer because it covers your surface and preps it for all the other layers.  

4) Paint and distress.  Hmmm...I wish that I could remember all I did to this piece.  I'm sure Kris thought I was certifiably crazy for the amount of layers of paint/glaze I used on this piece.  But I'll try and cover the basics:

We wanted the end to be a distressed, layered smokey blue.  We started off with 2 coats of our base color.  


Let it dry.  I'm very (veeerrryyy) impatient when it comes to paint.  I hate leaving a piece to dry overnight.  But it must be done.  So after letting this dry a few hours (told you...) we threw on some antiquing glaze.  We have tried a few different glazes and this one is our favorite.  Good color, good workability.  Maybe sometime I'll do a post on applying glaze, but if I get all nitty gritty now this could take forever.  A couple coats of antiquing glaze and crackle glaze later...we were left with something that looked like this:


Wasn't quite as distressed as I was hoping and starting to look more periwinkle than the dusky blue I had imagined.  Enter my special weapon.  Spray paint.  That's right.  Metallic spray paint.  Again, I can go into detail at a later time, but you can see on this leg the darker markings are all brushed metallic spray paint.  Spray paint is not forgiving so go easy.  Spray from a distance and wipe fast.  Love it. 


Then I might have added another layer of crackle glaze and then another very watered down layer of paint just because it felt right.  Or maybe not.  Who knows? ;)  

Oh, and I added "distress" to this step as well because it's important to sand down your "rough spots" as you go.  Between layers I was sanding.  While paint was wet and while paint was dry, I was sanding down edges.  I would sand and then glaze little spots at a time.  I wish I had more of a calculated prescription for this, but I just do as I feel.  You can't really mess it up, so just have fun with it. 

5) Finish and Seal.  We use a light finishing sanding block just to smooth the surface and then coat it with 2 layers of clear non-yellowing sealant.  This is just as important as primer.  If you don't start and finish well, you will lose all your hard work in the middle.  Because this was going to be a coffee table and we knew it would get a lot of use, we did 2 coats of a heavy sealant.  We chose a gloss finish for the look and to make it easy to clean, but use different finishes for different pieces.  

Add your hardware and viola...


And that's how this piece went from forgotten:


 to found:


Related Posts Plugin for WordPress, Blogger...