

Well here goes nothing :)
This first project is a table I refinished with my friend Kris,
over at All Things New.
The forgotten piece that we started with was this old kitchen table. I have a coffee table at home that I absolutely adore that was cut down from an old kitchen table. It's a beaut. I've been dying to try this redo myself, but hadn't found the perfect piece. Enter exhibit A:

This isn't the best "before" picture, but we were so excited that it wasn't till we were elbow deep in the sanding process that we remembered to stop and snap a pic. So, here's the low down:
1) Sand, sand, sand. Then repair. This table had a thick coat of black paint and what seemed to be a polyurethane finish. We sanded this sucker like nobody's business. The reason you want to sand is to make sure that you get a gritty, porous surface for your paint to really adhere to. Though we wanted the distressed look, this table had a few big nicks and holes that needed filled before we primed. Do this after you sand because sometimes you will discover more in the sanding process.
2) We then cut off the legs and removed the hardware. We got lucky and ended up picking a good height, but I would suggest measuring another coffee table that you like the height of before you go hacking off the legs. Just a thought. :)
3) Prime. I love Bullseye 321 primer and sealer. It covers anything. Most of the time with one coat. Covers stains, and sticks well even to the junk that won't sand down well. My only advice here is to really be careful with drips. It's easy to get a little sloppy with primer because it's the first coat and you think you won't see it. However, it's actually the most important layer because it covers your surface and preps it for all the other layers.
4) Paint and distress. Hmmm...I wish that I could remember all I did to this piece. I'm sure Kris thought I was certifiably crazy for the amount of layers of paint/glaze I used on this piece. But I'll try and cover the basics:
We wanted the end to be a distressed, layered smokey blue. We started off with 2 coats of our base color.
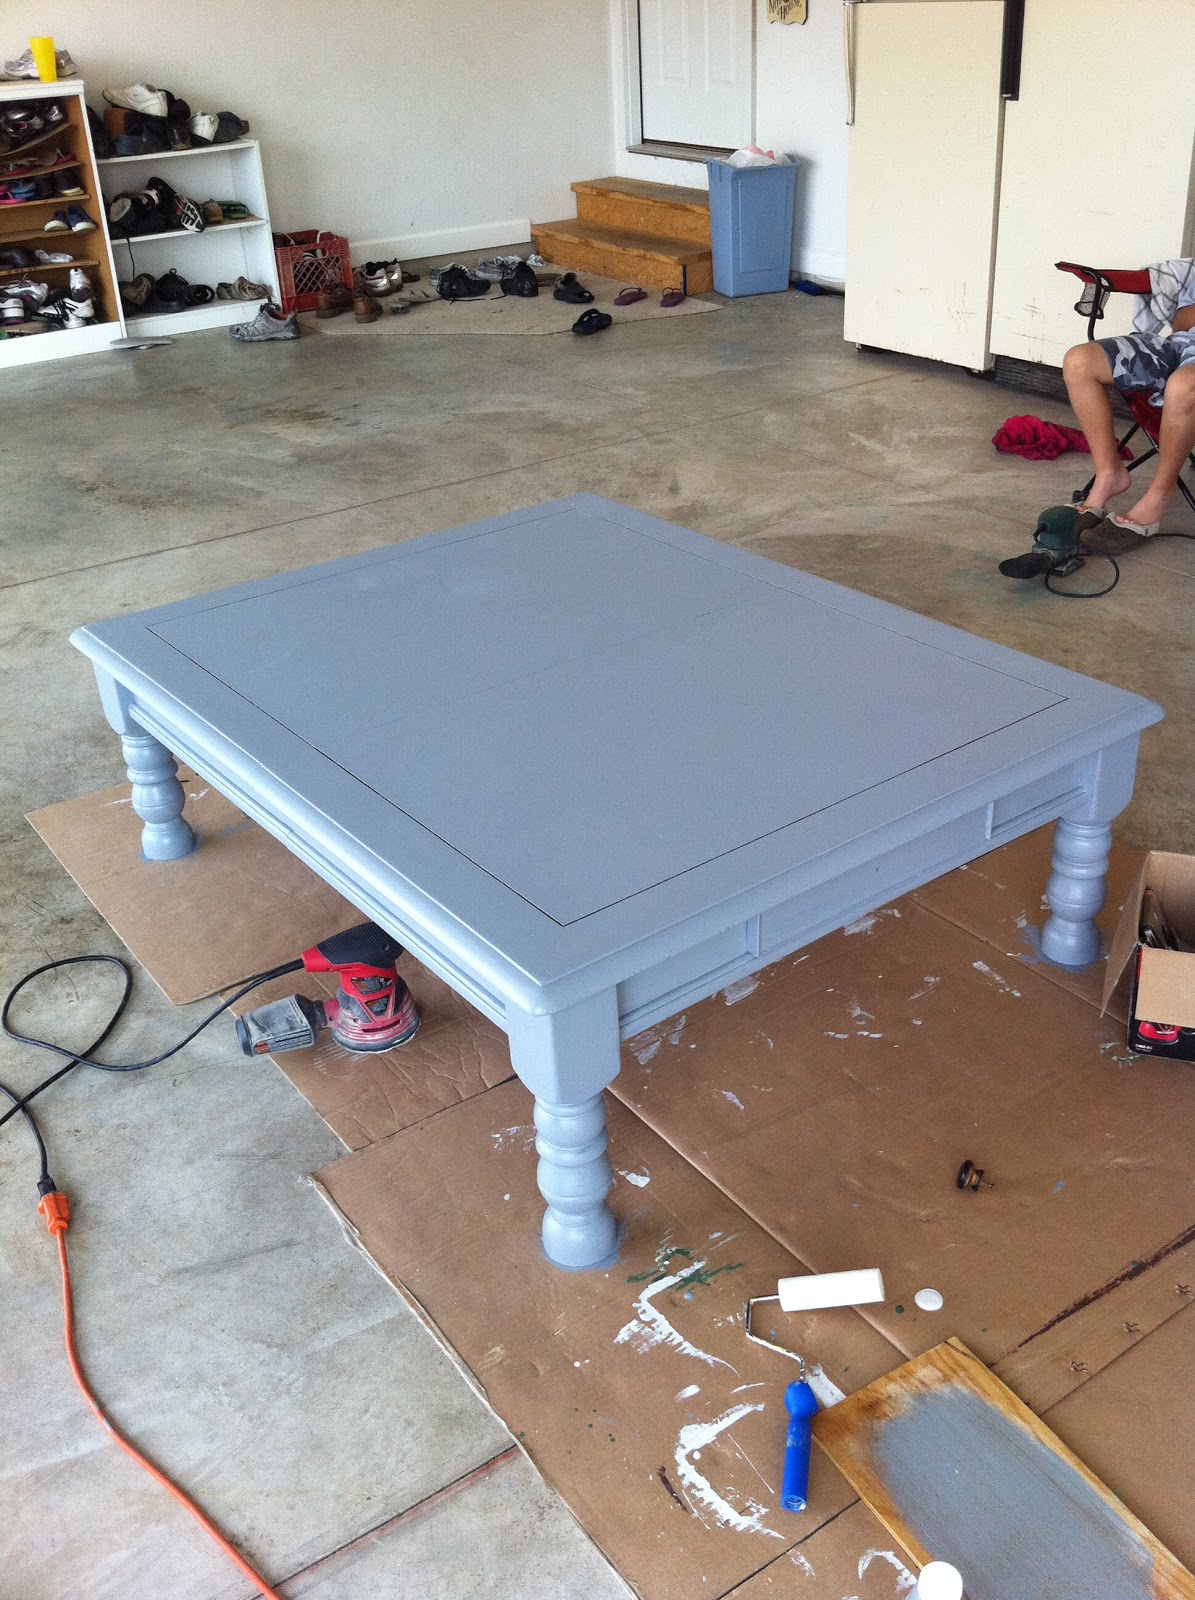
Let it dry. I'm very (veeerrryyy) impatient when it comes to paint. I hate leaving a piece to dry overnight. But it must be done. So after letting this dry a few hours (told you...) we threw on some antiquing glaze. We have tried a few different glazes and this one is our favorite. Good color, good workability. Maybe sometime I'll do a post on applying glaze, but if I get all nitty gritty now this could take forever. A couple coats of antiquing glaze and crackle glaze later...we were left with something that looked like this:


Wasn't quite as distressed as I was hoping and starting to look more periwinkle than the dusky blue I had imagined. Enter my special weapon. Spray paint. That's right. Metallic spray paint. Again, I can go into detail at a later time, but you can see on this leg the darker markings are all brushed metallic spray paint. Spray paint is not forgiving so go easy. Spray from a distance and wipe fast. Love it.

Then I might have added another layer of crackle glaze and then another very watered down layer of paint just because it felt right. Or maybe not. Who knows? ;)
Oh, and I added "distress" to this step as well because it's important to sand down your "rough spots" as you go. Between layers I was sanding. While paint was wet and while paint was dry, I was sanding down edges. I would sand and then glaze little spots at a time. I wish I had more of a calculated prescription for this, but I just do as I feel. You can't really mess it up, so just have fun with it.
5) Finish and Seal. We use a light finishing sanding block just to smooth the surface and then coat it with 2 layers of clear non-yellowing sealant. This is just as important as primer. If you don't start and finish well, you will lose all your hard work in the middle. Because this was going to be a coffee table and we knew it would get a lot of use, we did 2 coats of a heavy sealant. We chose a gloss finish for the look and to make it easy to clean, but use different finishes for different pieces.
Add your hardware and viola...


And that's how this piece went from forgotten:
to found:


Loooove this. Looks so good...now if only I needed a coffee table...
ReplyDeleteLooks great! What a neat idea!
ReplyDelete